I’m a big fan of Cloudflare. But, I use BunnyCDN in all my WordPress sites. It can provide better optimizations and features than Cloudflare free plan.
Here is the detailed guide about BunnyCDN, its review, comparison, and how to set it up on your WordPress site.
Use coupon code “WPSPEEDMATTERS”.
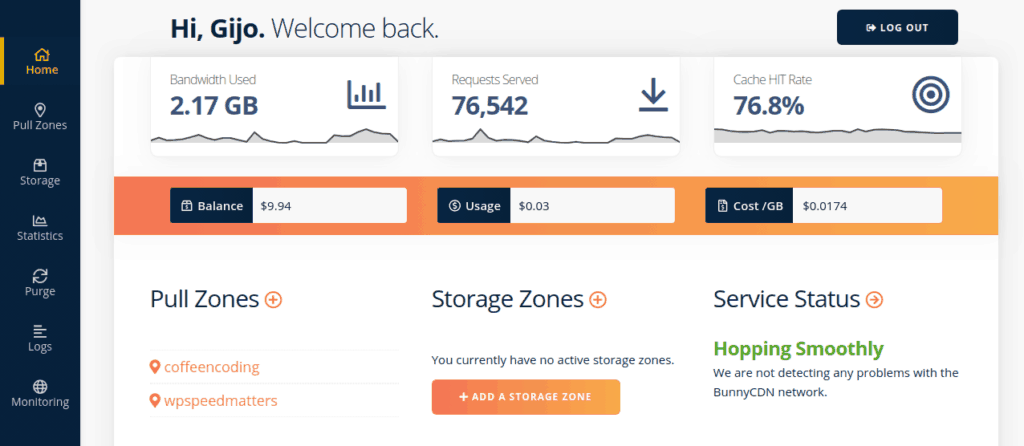
Table of Contents
Key features
- Only the fly image optimization
- Resize image based on user
- Minify CSS and JavaScript
- WebP Support
- Video delivery
- HTTP/2
- Brotli & GZip
- Override expire headers
- Bandwidth overdraft protection
- Cache query strings
- Instant purging files or entire zones
- Cloud storage
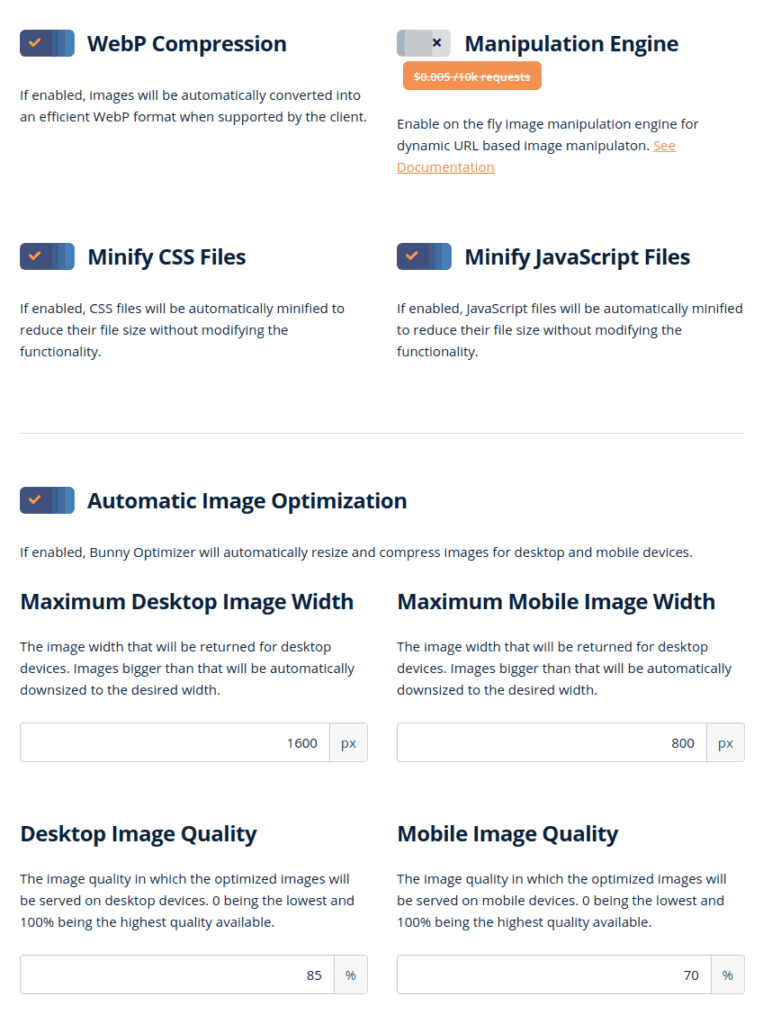
Bunny Optimizer – The differentiator
BunnyCDN comes with built-in optimization for Images, CSS and JavaScript.
Images can be converted to WebP, compressed and resized based on the device (mobile/desktop) on the fly. This is something most CDN providers doesn’t provide.
Pricing
Their pricing is as follows:

Suppose you’re currently serving around 50 GB of bandwidth per month, and most traffic is from America, it will cost 50 x 0.01 = $0.5 per month. That’s pretty cheap, right?
There is also a minimum recharge of $10 per year. Image optimization costs extra at $9.50 per month.
BunnyCDN vs KeyCDN vs Cloudflare
BunnyCDN, KeyCDN and Cloudflare are some of the top CDN providers for WordPress.
| BunnyCDN | KeyCDN | Cloudflare | |
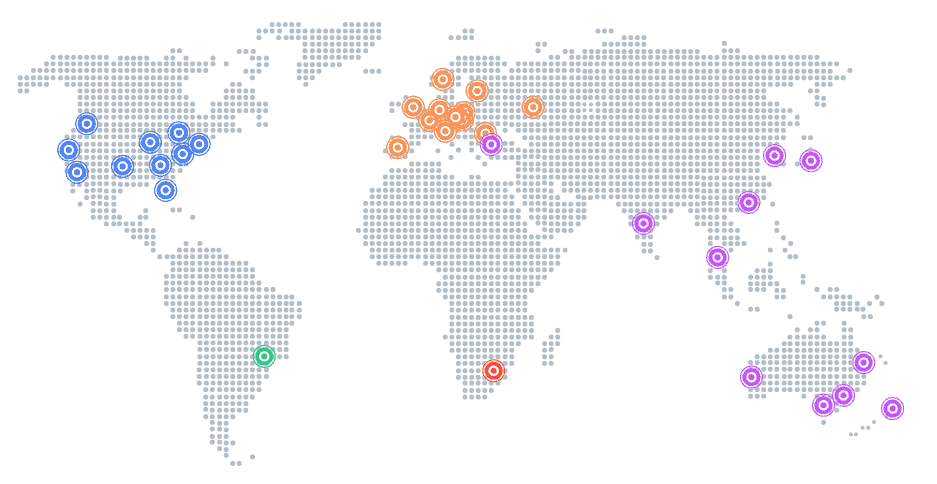
| No. of servers | 35+ | 35+ | 155+ |
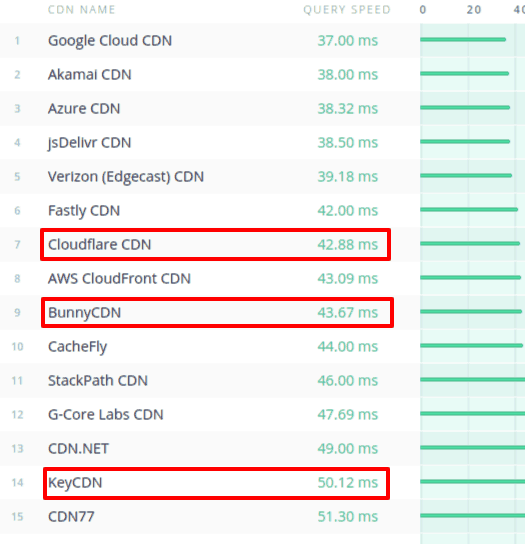
| Average response time | 43.67 ms | 50.12 ms | 42.88 ms |
| Support dynamic WebP delivery | Yes | Yes | No |
| On the fly image compression, resizing & WebP conversion | Yes ($9.5/month) | No | Yes ($20/month) |
| Cookie-free domain | Yes | Yes | No |
If you look at the pricing and features, without a doubt BunnyCDN is a winner!
Note that Cloudflare doesn’t provide any sort of image optimization in the free plan. Even if you generate WebP images in the server, Cloudflare can’t deliver them conditionally. Image optimization is crucial since it weighs 80% of your total web page size.
Performance
Data Centers
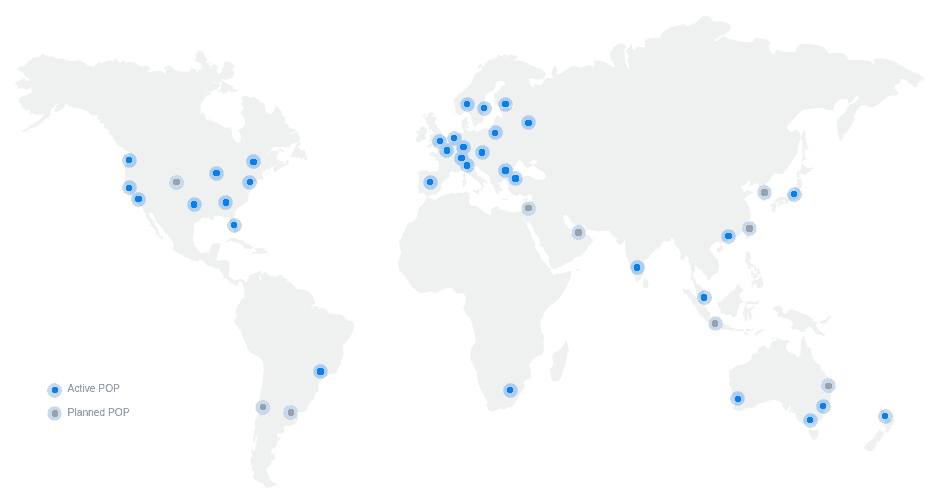
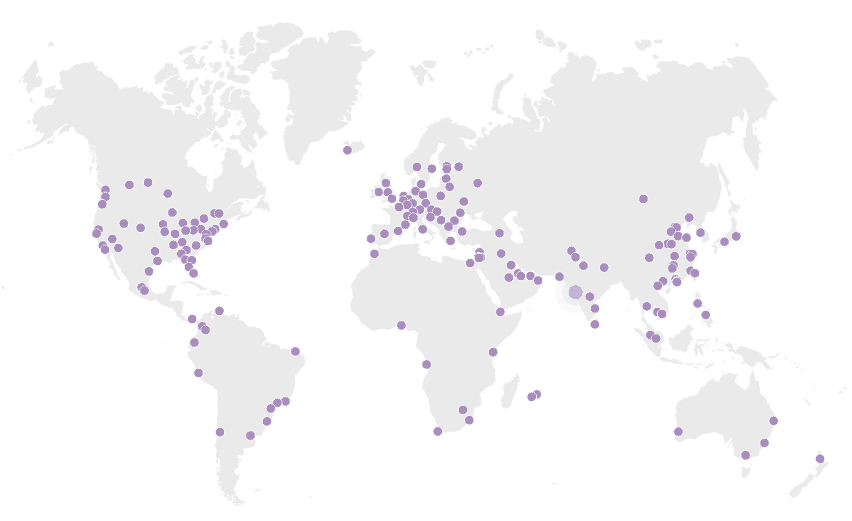
Number of Data Centers != High Performance
It may feel like Cloudflare will have the best performance since it has 155+ data centres. But in reality, you need very high traffic to cache all the files in all the data centres.
Suppose your website has 100 images. In Cloudflare, it takes 155 x 100 = 15,500 requests to cache these files in all their data centres. However in the case of BunnyCDN it’s only 35 x 100 = 3,500 requests.
This is also referred to as a cache hit ratio. For me, the cache hit ratio in Cloudflare is around 50-60%. While that of in BunnyCDN, it’s around 70-90%.
How to Setup BunnyCDN in WordPress
Setting up BunnyCDN in WordPress is pretty easy.
Create Pull Zone in BunnyCDN
Create an account in BunnyCDN and create a new Pull Zone. A ‘Pull Zone’ tells BunnyCDN from where to pull the content/files (i.e. your website)

Once setup is done, you’ll get something like this:
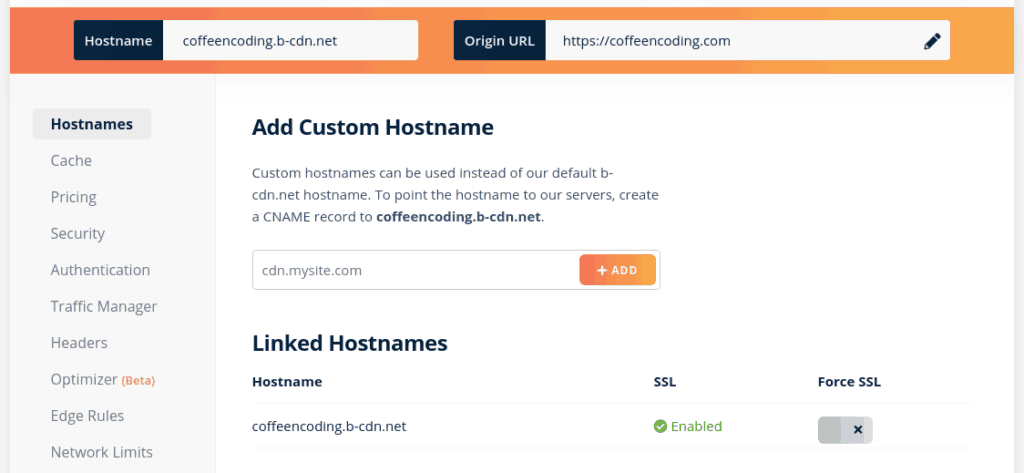
The ‘hostname’ is the only one we want.
By default, you’ll get a hostname like something.b-cdn.net. But you can connect your own subdomain like cdn.your-site.com by adding CNAME to DNS settings.
Configure CDN in WordPress
If you’re using a cache plugin like FlyingPress, then go to its CDN settings and enter the above CDN URL.
If you’re not using any cache plugin, you can install the CDN Enabler plugin to do the same. But it’s highly recommended to use a cache plugin in WordPress.
Recommended Settings for BunnyCDN
BunnyCDN can give pretty good results with the default settings. But there are a few settings that can give more.
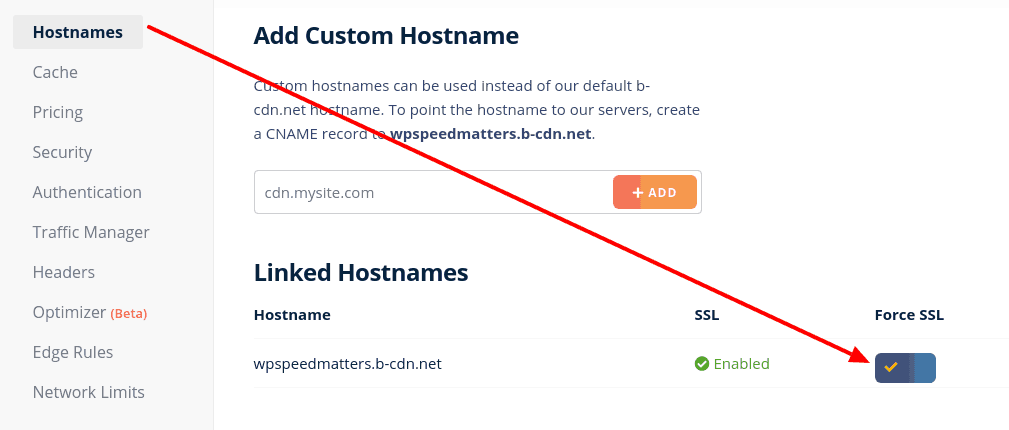
Force SSL
Force SSL so that it will automatically redirect all non-https requests to https
Set Cache Expiration
You can set how long the files will be cached in the browser and their edge server. Set it to 1 year. This will increase cache hit ratio and decrease load to your origin server.

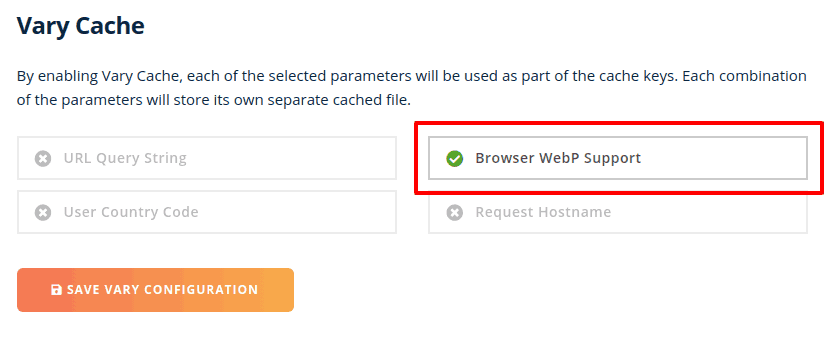
Enable Dynamic WebP support
If your server can send WebP images conditionally based on the browser, you can enable “Browser WebP Support”. This will tell BunnyCDN to deliver separate files for browsers with and without WebP support.
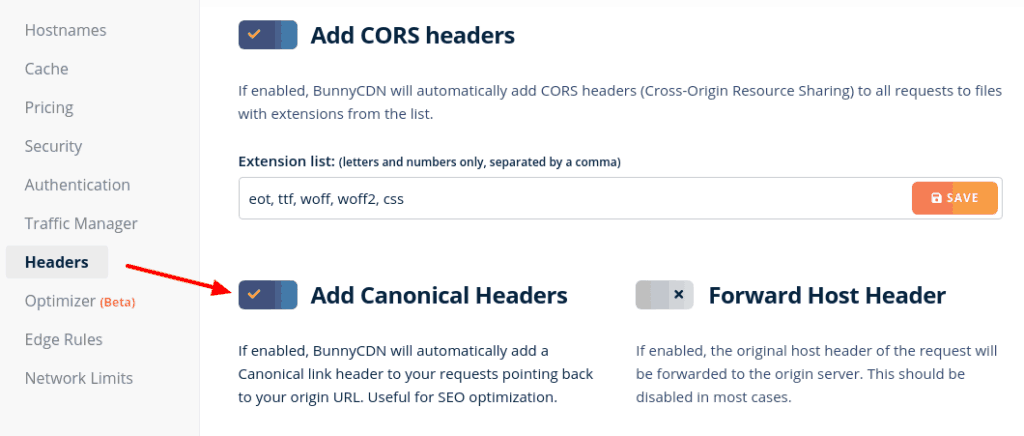
Add Canonical Headers
Canonical headers tell search engines where is the origin URL for the file. It’s good SEO.
Enable Bunny Optimizer
Bunny Optimizer will compress images, resize and deliver them as WebP based on the user’s device. This can result in a 50-70% smaller web page size and 2-3x overall speed.

Comment below if you’ve any queries or feedback. I read and reply to each of them within 8 hours!




Comments are closed.